 |

|
|
|
|
||
Refurbishing A 1993 Diablo Engine and Clutch - Continued
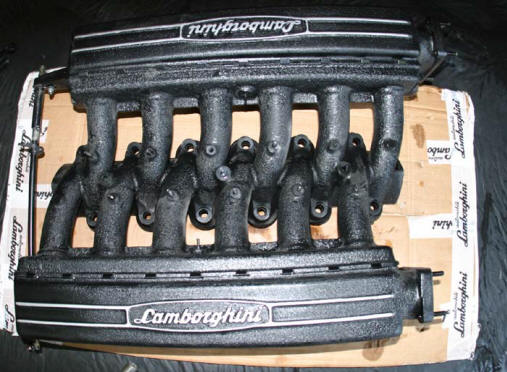
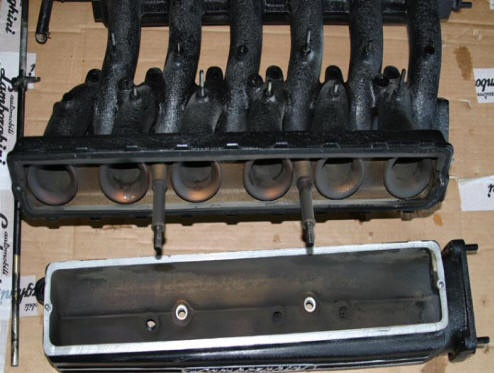
Next was the intake manifold. I decided to open it to clean it and change the rubber gaskets . There are two nuts on each side of the intake plus we had to remove the shaft that connects to the tie rods which control opening /closing of the throttle. As you can see from the picture one side had just carbon but the other side had oil (sludge), Fig 64.
 |
 |
|
| Fig 63. Manifold | Fig 64. Manifold to be cleaned up. | |
|
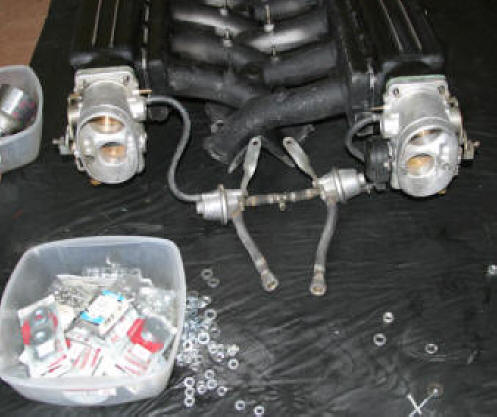
Next installing new gasket for the throttle bodies to finish of the manifold job so that we can install it on the engine, fig 65. Then we installed the engine breathing system (hoses, pipes , and tank) we also installed the gear box sensor , Fig 66. |
||
 |
 |
|
| Fig 65. Install throttle bodies. | Fig 66. Pipes and gear box sensor. | |
|
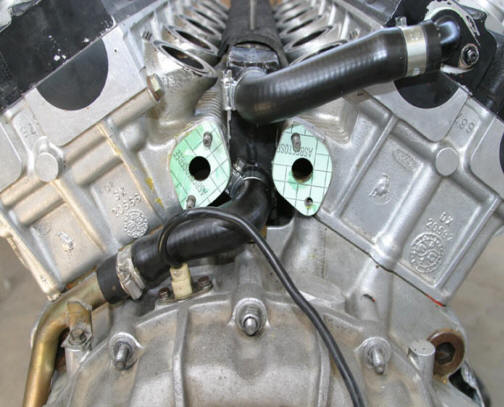
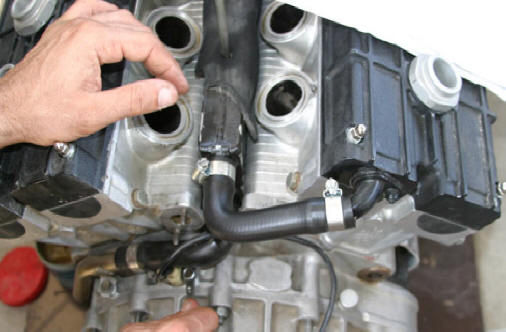
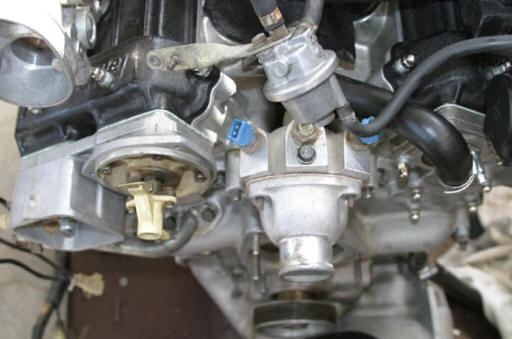
We replaced all 12 O rings with new ones for the intake manifold and secured the intake, Fig 67. We installed the thermostat /temp sensors housing and water pump of course all gaskets/O rings were replaced with new ones as you can see Fig 68. |
||
 |
 |
|
| Fig 67. New "O" rings. | Fig 68. Install Thermostat etc. | |
|
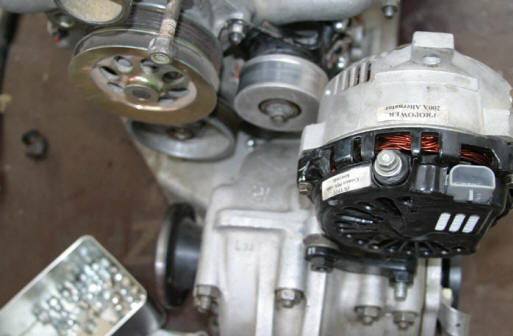
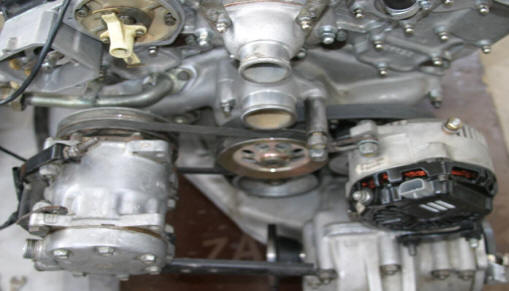
I installed the gasket then the Oil Dipstick. Then I installed the Alternator. Notice it is not the OEM Alt which is rated @ 115 Amps. The Aftermarket Alternator is rated @ 200 Amps and was custom made to fit the Diablo, Fig 69. Then Next AC installation and belts, Fig 70. |
||
 |
 |
|
| Fig 69. Alternator installed. | Fig 70. AC and belts.. | |
|
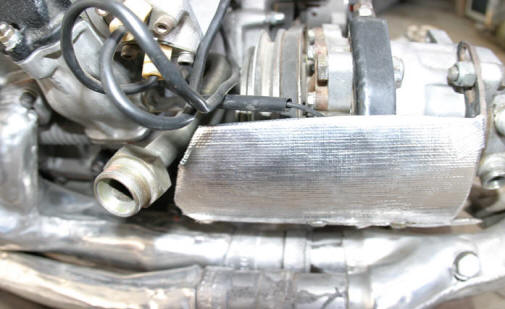
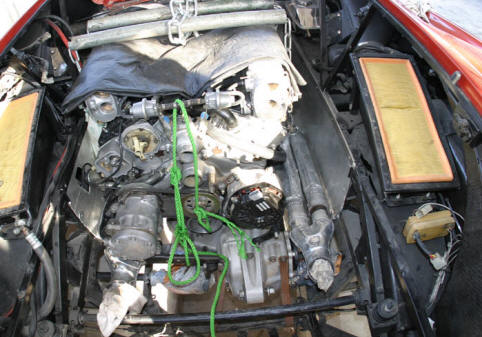
Also I decided to install adhesive thermal barrier over the heat shield for the AC to reduce radiant heat from the exhaust, Fig 71. I did the same thing for the engine bay as well, I am trying to keep the fuel tank and other wires/hoses well shielded. Next we hoist engine back into car, Fig 72. |
||
 |
 |
|
| Fig 71. Heat shield around AC compressor. | Fig 72. Hoist engine back into car.. | |
|
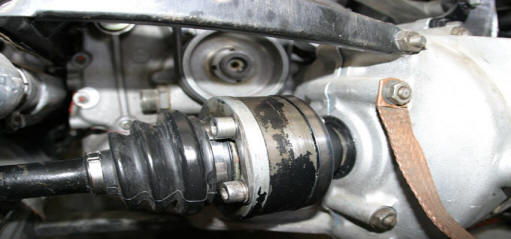
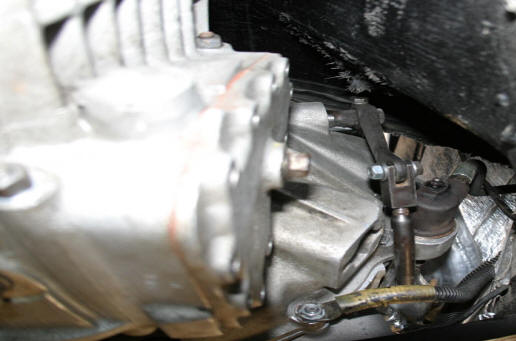
With the exhaust removed and rear grill for the tail pipes removed it was very easy to bolt on the differential half shafts. Next we connected the main oil pipes lines (to and from the oil filter). We then We added oil for the A/C. Then we connected both A/C hoses and the AC compressor. (Fill with Freon later). Note, all water hoses for the two radiators and water pump were replaced with new ones. |
||
 |
 |
|
| Fig 73. Reconnect differential drive shafts. | Fig 74. Hookup oil lines. | |
|
We then decided to finish the day by installing the Clutch slave cylinder, adding oil, and bleeding the system. We made minor adjustment for the clutch lever /fork so that the clutch is 100% engaged (normal idle position) Fig 75. Now it time to install the polished water pipes, it is good idea to use grease on the hoses so that it become easier to slide in the pipe into the hoses. |
||
 |
 |
|
| Fig 75. Clutch lever attached. | Fig 76. Connect up water pipes. | |
|
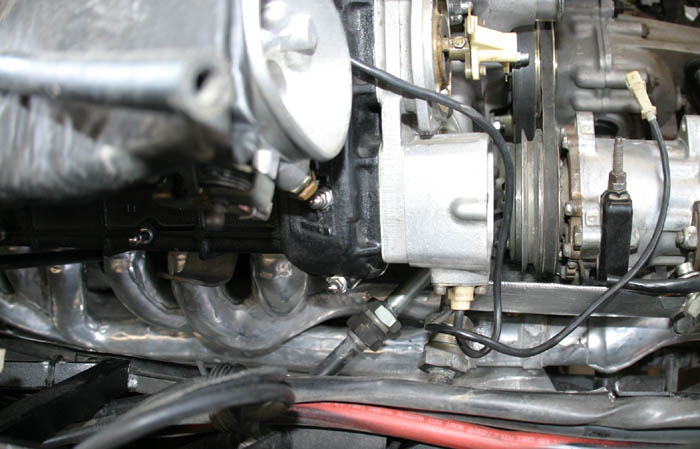
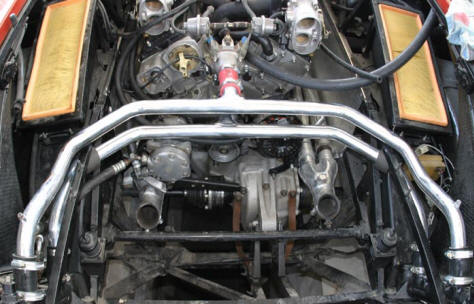
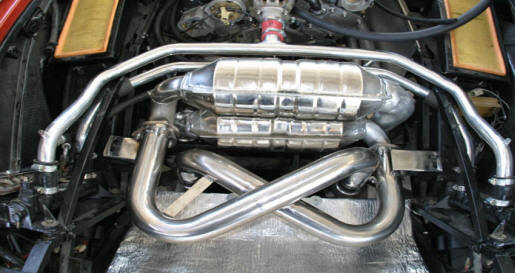
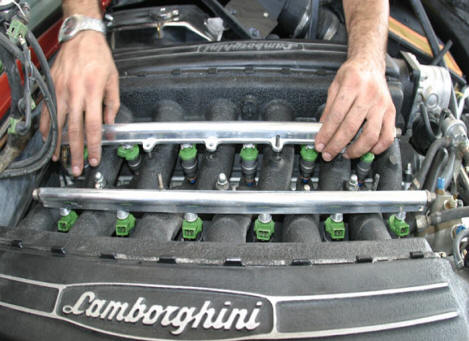
Next installing the Cats, the exhaust heat shield, and the Larini Exhaust system, Fig 77. I think is looks good and I am sure it will sound awesome. Then it is time to install the recently cleaned injectors. Again it is good idea to apply little grease on the injectors O rings so that they can slide in easy in the fuel rails and the Intake manifold, Fig 78. After installing the injectors and securing the fuel rail; we installed the fuel lines from the filters to the fuel rail and from the fuel regulators to the fuel rail. Also we installed the return fuel line and connected up all the injector’s wires and with that the fuel system is now complete. Alternator wires, AC wires, and water temperature gauges wires were also connected. |
||
 |
 |
|
| Fig 77. Install Larini exhaust system. | Fig 78. Install injectors and fuel rail | |
|
Finally we connected and adjusted both throttle tie rods , all the hoses for the engine breathing system and air filters, and the distributor cap and spark plugs cables. Engine oil and coolant already added, we only need to install the tail pipes to start up the car. |
||
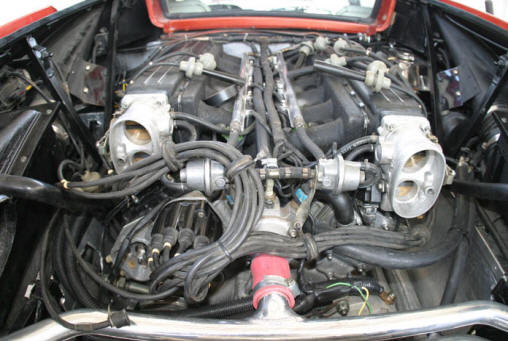 |
||
| Fig 79. Finished engine ready to start. | ||