 |

|
|
|
|
||
Removing a Diablo Muffler
|
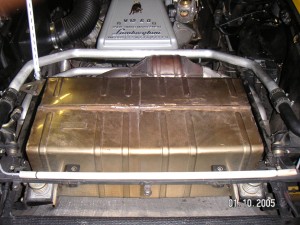
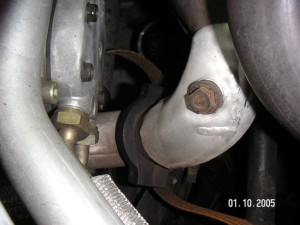
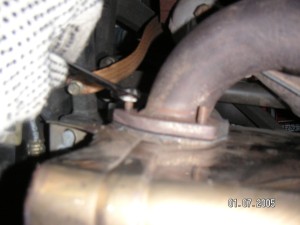
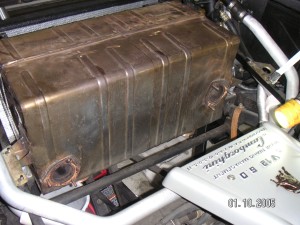
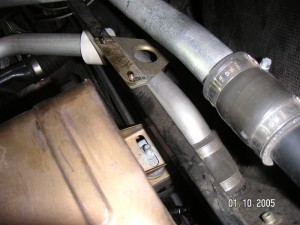
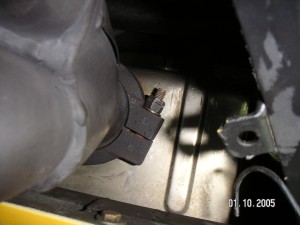
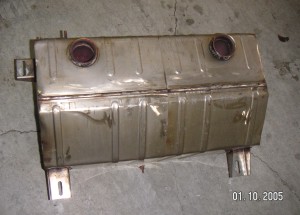
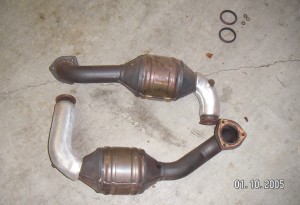
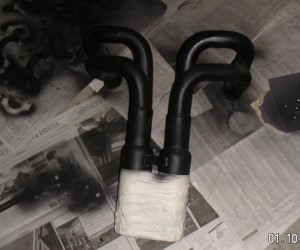
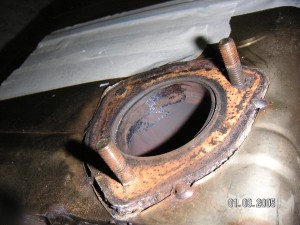
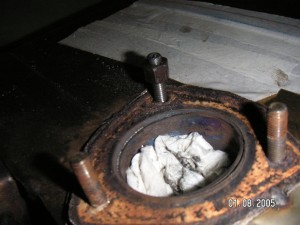
First a few obvious points. Make sure the car engine is cold. It often helps to put reagents that loosen rusted nuts on them as few hours beforehand. The nuts used to attach the catalyst to the muffler box reach high temperatures. They are often difficult to open in older cars and can snap off (see below). The muffler box itself is quite heavy. Since you have to bend over the car to get it out. Watch your back and/or get a friend to help lift it out. The whole process is really quite simple. I will illustrate most of the steps with pictures. First remove the rear section (and wing) of the car. This exposes the silver heat shield that covers the hot muffler box (fig 2). Next get under the car and open the two bolts on the two C-clamps that attach the catalysts to the engine (fig 3). Remove the 3 nuts on the bolts that attach each catalyst to the muffler box (fig 4). Take care with these nuts they can break easily. Figure 5 shows the two catalyst units removed. Note you can actually get the muffler box out without removing these two catalysts. However the whole unit is quite heavy and difficult to get out. Next remove the two nuts on the side of the muffler box that attaches it to the frame of the car (fig 6). Next remove the rear mounts of the muffler box. There is no need to open the large bolt containing the spring. Just open the 4 attachment screws as shown in figure 7. Finally remove the two c-clamps under the muffler box that hold the tail pipe in place (fig 8). Then lift the muffler box out of the car taking care not to scratch anything. Figures 9 - 11 show the removed muffler box, catalysts and tail pipe. While you have the tailpipe out, you may wish to spray it with (black) high temperature paint as shown in figure 11. You might also wish to brush the rust off the various c-clamps and spray them as well. This prevents them form rusting in the future.
Start the engine up in a well, ventilated area and check all joints are tight. If there is a leak, you will hear it or feel the exhaust blowing against the back surface of your hand. Try tightening nuts further and/or open a joint and put one of the many muffler sealing pasts on a joint. If you are careful you should not have broken the gasket that seals the catalyst units to the muffler box. If you did pick two up at any muffler bringing yours with you. Replace the heat shield and rear section of the car and you are done.
|
||
 |
 |
 |
| Fig 2. Muffler box exposed | Fig. 3. Remove engine c-clamps | Fig 4. Remove catalyst bolts |
 |
 |
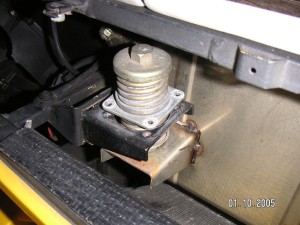 |
| Fig 5 Catalyst removed from car | Fig 6 Remove side bolts | Fig 7 Remove screws holding rear spring |
 |
 |
 |
| Fig 8.
Remove c-clamps holding tailpipe
|
Fig 9. Muffler box | Fig 10. First set of catalysts |
 |
 |
 |
| Fig 11 Tailpipe
|
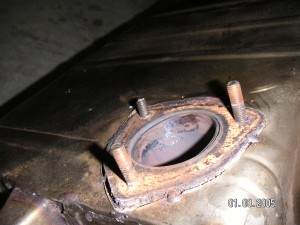
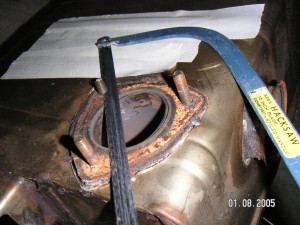
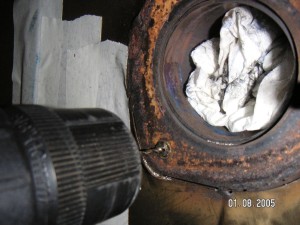
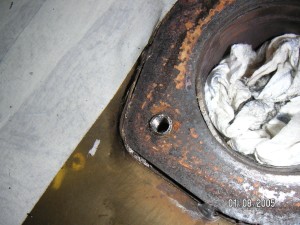
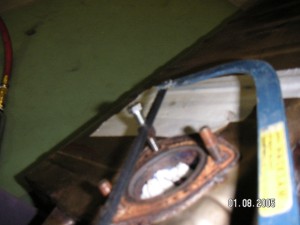
Fig 12 Broken muffler stud | Fig 13 Cut stud level with surface |
 |
 |
 |
| Fig 14 Stud cut to surface
|
Fig 15 Drill out old stud | Fig 16 Tap in new 10 mm treads |
 |
 |
 |
| Fig 17 New treads complete
|
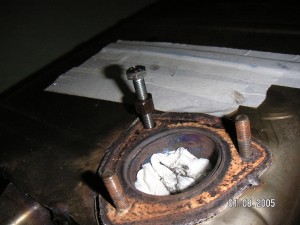
Fig 18 Insert 10 mm bolt with nut | Fig 19 Cut bolt above nut |
 |
 |
|
| Fig 20 Finished new
stud with nut
|
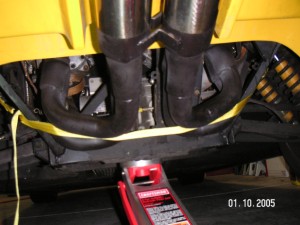
Fig 21 Strapping up tailpipe during attachment | |
 There
are a number of times when one may wish to remove the muffler from a
Lamborghini. Almost any major engine repair for
example will require the muffler to be removed. Fortunately this is
relatively easy to do in most of the cars. I will illustrate it here
with a Diablo. I will also outline how to go about repairing the
muffler box if one of the catalyst attachment bolts gets broken.
This is common on older (often rusted) cars.
There
are a number of times when one may wish to remove the muffler from a
Lamborghini. Almost any major engine repair for
example will require the muffler to be removed. Fortunately this is
relatively easy to do in most of the cars. I will illustrate it here
with a Diablo. I will also outline how to go about repairing the
muffler box if one of the catalyst attachment bolts gets broken.
This is common on older (often rusted) cars.